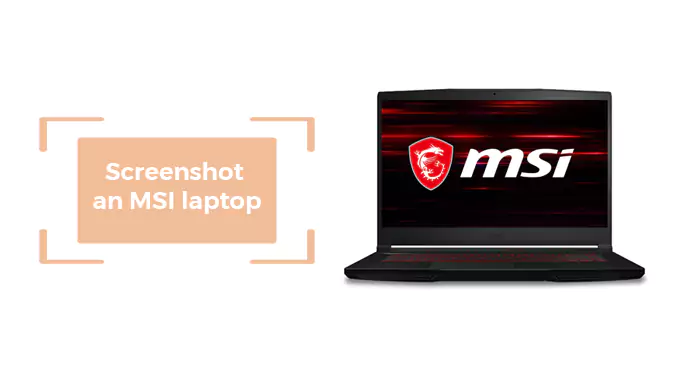
How to screenshot an MSI laptop?
If you work as a freelance or in an office, you might think of having an MSI laptop. However, just like it is a little lesser-known brand by the general public, its functions are also lesser known.
Here we are discussing the method to take a screenshot on an MSI laptop. Even though taking a screenshot sounds very easy, the method is slightly different on every laptop.
So much so that the screenshot process can vary in the Windows upgrade, this is why people tend to feel confused and end up downloading various applications for screenshots.
We will be sharing five methods to take screenshots on an MSI laptop.
1. Taking screenshots with applications
We cannot give you a straight rule for all the applications. For each application, there will be a different process for taking screenshots.
Let us see what the best applications and extensions for screenshots for an MSI laptop are.
Thanks to the advanced windows operating systems, now windows 10,8,7 and 11 have an in-built tool for screenshots.
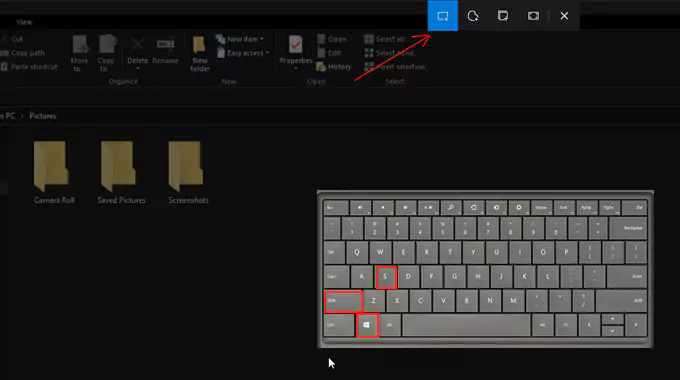
Snipping tool
The best thing about the snipping tool is the initial cutting. You do not need to crop the image after taking the screenshot. The users can decide how much screen they want to capture.
It is also very simple to take a screenshot with the snipping tool. All you need to do is open it by pressing the Windows logo key + Shift + S., then select the area to capture the screen. You can make a boundary with the mouse.
You can also rename the screenshot just the way you like. Professionals, such as video bloggers, or anyone who does not want to share the entire screen and wishes to have a fast service can try the snipping tool.
Lightshot
For MSI and other laptops, Lightshot is also a great option. You can easily download it through the official site light shot. It is similar to the snipping tool and has more features like live editing. People using a windows version without a snipping tool can try this application.

It’s super easy to use, and I Highly recommend it.
2. By using the print screen button
The print screen button is the simplest way to take a screenshot on any laptop. Although the latest Dell or Asus laptops are located at the lower side of your keyboard, in an MSI laptop, it is generally on the upper side of the keyboard.
Secondly, if you cannot find it, you are probably looking for the complete print screen written on it. As you know, labeling such a long name is not possible on a button. Thus, they only have “PrtSc” written on it.
Saving a screenshot in MSI Laptop
Many users face this issue of saving a screenshot. To take a screenshot, you need to paste the screenshot too.
Many users only press the print screen button and then complain that nothing happened. When you press the print screen button, it saves the screenshot on the clipboard.
To save it, you will need to open Microsoft paint. There you must paste that screenshot. You can edit, cut, or crop the screenshot as per your requirement too.
Saving screenshots locally on MSI Laptop
If you want a quick solution to save screenshots on MSI, then it is better to follow these steps.
It is relatively simpler than the aforementioned method.
All you need to do is press the PrtSc button and windows button together. Then open the “screenshot” folder on the PC, and you will see it.
Using Alt key
Some users might have an issue with the windows button or any other key, and then as a last resort, they may pick the Alt key.
- First, go to the screen that you wish to screenshot.
- Then press the PrtSc button and Alt button simultaneously.
- Now open the paint and paste it.
This method is similar to the regular PrtSc button, but only Prtsc might not work in a few cases. This is an alternate method for such users.
Taking a screenshot with the game bar button (Win 10/11)
It is something interesting, and I also learned this recently. However, this method is only possible in windows 10. If you’re using any other windows version, I am afraid it is not the ideal method for you.
First of all, you need to locate the game bar button. Many people who are first-time users of an MSI laptop might not know one.
If you do not know how to get to the game bar, press the windows button and the “G” letter. It will open the game bar for you.

Then you will see the take screenshot button on the game bar. That is it. The best part about this method is ease. No need to open another application to paste and then edit it. This will be automatically saved on your PC.
If you are unable to find the game bar option, then it will be better to look for the Xbox application. There you will also see an option for screenshots.
Conclusion
Taking a screenshot on an MSI laptop is very easy. All you need to know is the right keys and applications. It is only a myth that MSI requires a different method for screenshots. It has a windows OS thus, so you can follow the same method you do for other windows laptops.

In my free time, I love to play games with my kids and read books.
- What Laptop Works Best with Cricut? Craft Your Creativity to Perfection - February 22, 2024
- Want to Invert Colors on Your Chromebook? - February 22, 2024
- Your Guide to Choosing the Best Lenovo Chromebook for You - February 21, 2024